How to Use
Complete guide to mastering the Meeting Assistant Tool. Follow our step-by-step instructions to make the most of every feature.
Available on Android, iOS, Huawei, and as the Web App in your browser
Step 4 of 10
Managing Attachments
Add, view, and manage files attached to your meetings.
Adding Attachments
- When creating or editing a meeting, tap "Attachments"
- You'll see the "Edit Attachments" screen
- Tap the "+" icon in the top right of the header
- Select files from your device:
- Documents (PDF, Word, Excel, etc.)
- Images
- Other supported file types
- Selected files are uploaded and attached to the meeting
- Tap "Done" in the bottom right when finished
Viewing Attachments
- Open a meeting
- In the meeting details, find the "Attachments" section
- Tap the right arrow (→) next to "Attachments"
- You'll see a list of all attached files
- Tap any file to:
- View it (if supported)
- Download it to your device
- Share it
Managing Attachments
Remove an Attachment:
- Open the attachments list
- Find the file you want to remove
- Tap the delete/trash icon
- Confirm removal
Add More Attachments:
- Open the meeting
- Tap "Attachments" in the meeting details
- Use the "+" button to add additional files
- Save your changes
Best Practices:
- Keep file sizes reasonable for faster uploads
- Use descriptive file names
- Attach relevant documents before sending invitations
- Common attachment types: notices of meeting, reports, financial statements, presentations, minutes from previous meetings
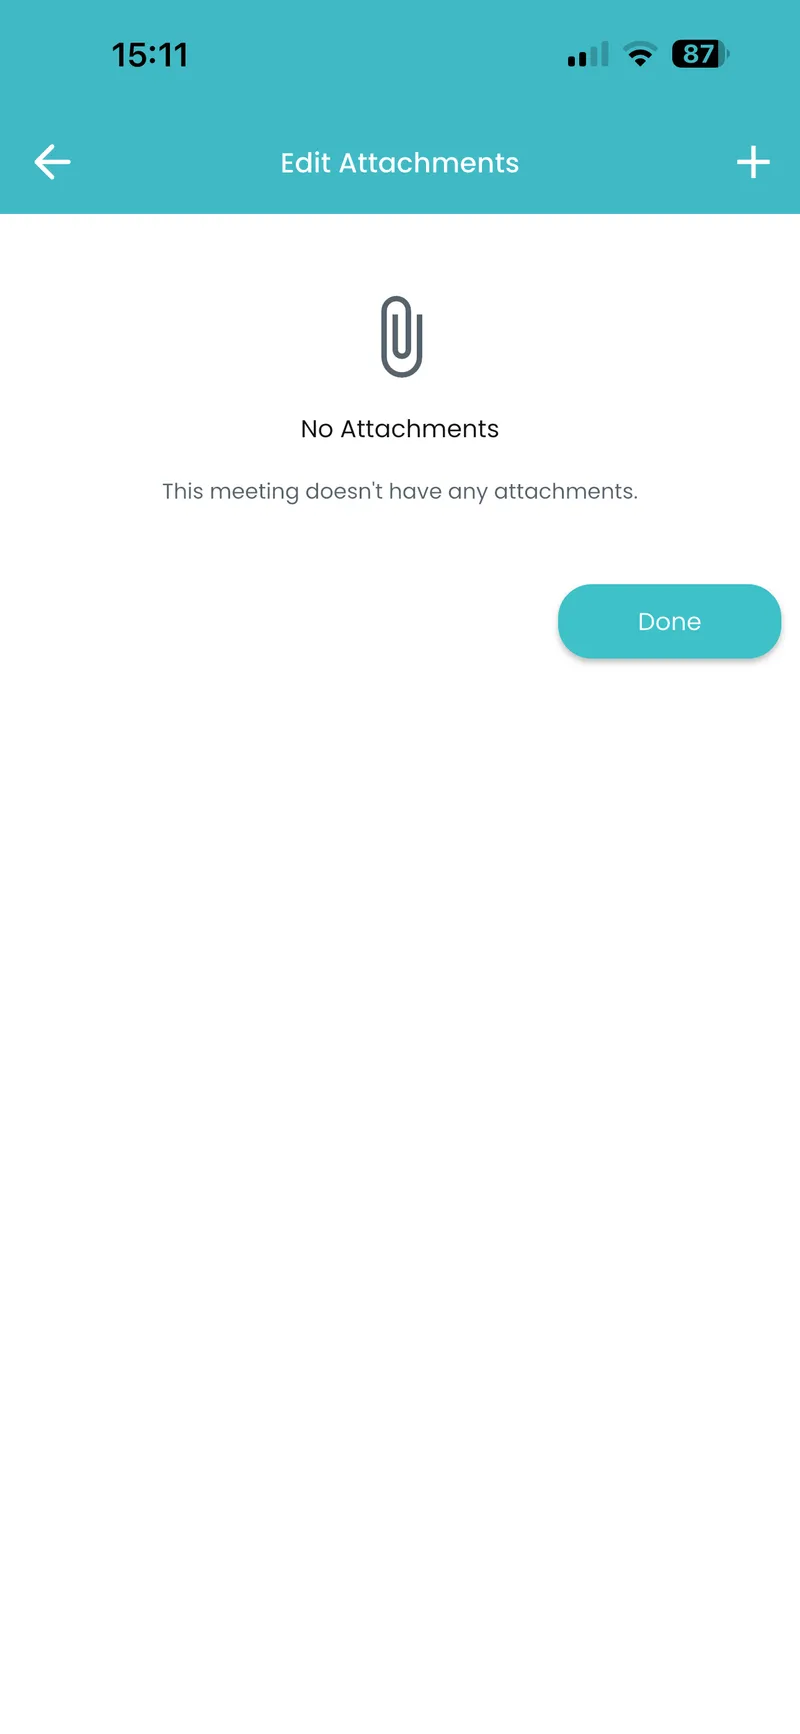
Edit Attachments Screen